Rummy Comparison: A Clean Hand Shape Versus a High-Value Hand
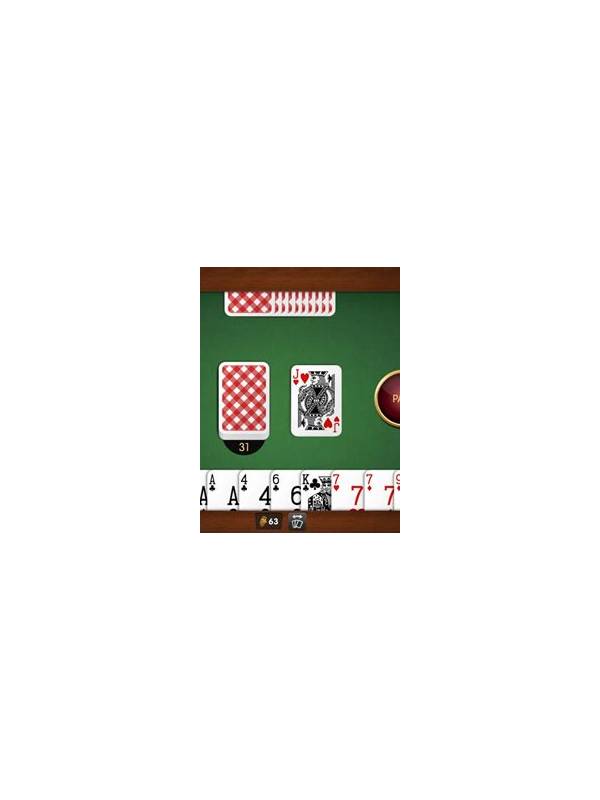
A clean hand shape is easy to organize: cards already form groups or have clear connections. A high-value hand contains cards whose point totals could matter greatly if the hand ends badly. These descriptions overlap sometimes, but they are not interchangeable. Comparing them helps explain why the most attractive arrangement is not always the safest choice.
Start with shape. Count stable groups, near groups, pairs, and isolated cards. A clean shape usually offers a straightforward next discard and does not require many exact draws. It can still be dangerous if its groups do not meet the table’s declaration requirements. Check the rules before rewarding a shape simply because it looks tidy.
Now count point exposure. High cards can create urgency, particularly when an opponent appears close to finishing. Yet throwing away every high card can also destroy a strong route. Treat point exposure as a deadline signal: it tells you when to review the plan, not always which card must leave immediately.
Imagine two choices. Choice A keeps a neat low-point sequence but leaves a high isolated card. Choice B keeps a less complete-looking route that uses a high card and discards a low card. If Choice A has a realistic way to remove the high card next turn, it may remain sensible. If it requires a rare draw while Choice B preserves several connections, the less tidy option may be better. The key is the cost and timing of repair.
Information changes the comparison. A clean visible arrangement may communicate a likely plan to opponents, while a less obvious structure may preserve uncertainty. Do not overestimate this advantage; hidden flexibility is valuable only if you can use it. A confusing hand that leaves you unable to choose is not automatically safer than a readable hand.
Use a simple review table in your notes: shape, point exposure, required structure, and next-turn repair. Give each candidate a short description rather than a numerical score. Numbers can create false precision when the deck and opponents are unknown.
The best choice is often the one with an acceptable shape, controlled point exposure, and a clear next review. A hand does not need to look perfect. It needs a route that remains understandable as new information arrives.
This comparison also helps after a loss. A high-value hand may have been structurally sound but unlucky, while a tidy hand may have hidden a serious requirement problem. Reviewing both dimensions keeps the lesson specific and prevents a single result from redefining what a good decision means.